

Hello friends! Today I thought I'd share with you a few tips on how to "organize in style" in the classroom! I've also put together a fun tin can DIY for you at the end of this post!

Are you a new teacher overwhelmed with lack of storage and space in the classroom? Are you a returning teacher and needing some stylish storage advice to update your room? Perhaps you are headed back to school this week and are looking for a few quick organization ideas to start the new school year off.

When you start planning classroom organization you think of cute labeled bins, matching colorful containers, and a place for everything/everything in it's place, right? Classroom decor, storage, and organization ideas have come along way! There are so many kinds of boxes, bins, containers and even items you can create to store your classroom supplies!

When setting up your classroom you will have to think about literacy, math, & science manipulative storage, arts & crafts storage, curriculum storage, etc. You will have to keep in mind ease of access for students to grab materials. You will also have to think about long-term storage. What will you do with items that are not used everyday?
My very first new teacher purchase was to help me organize my new classroom... bright plastic bins from the dollar store! They were inexpensive, useful to hold art supplies/manipulatives, and fit just right into my classroom storage cabinets.

I created labels, laminated the labels, and attached with Velcro. Velcro is SO useful in the classroom and I love it so much for labels. I often switch labels around and move things around to different size containers and Velcro makes things non-permanent! These bins have lasted me quite a few years!
If you are searching for some cute and EDITABLE labels you might want to check these Pre-K Tweets Chalkboard Labels out. They are new for fall and oh-so-cute!
Another idea I like to use for storage is plastic shoe boxes. They are transparent and stackable!

I purchase my shoe boxes from The Container Store. I love them because they have clear lids and are inexpensive. I also like that when I need more I can just order them online AND I know they will have the exact size I need. I don't have to go hunting back to a store looking for the matching boxes with a turquoise lid or the same exact size.

I have used these storage boxes in my art supply cabinet in my classroom and also for craft supply storage at home.

For a stylish and matching look, attach chalk board stickers (can be purchased from a craft store) and label with a white paint pen!
My go-to staples for classroom organization are: baskets, bins, crates, and mason jars!

I search home decor aisles, discount stores, Save-on-Crafts.com, and garage sales for these kinds of containers!

Mason jars are great for your writing or art center storage! You can paint them (or leave them plain) and students can practice matching like colors into the jars.
Sometimes you have to think out-side-the-box about classroom storage for supplies! I've often had to get creative and think of other uses for things.
I purchased this silverware caddy on clearance and I've used it in the classroom for my desk supplies and also during art projects!
I love things that serve double-duty and that I can borrow for other uses!

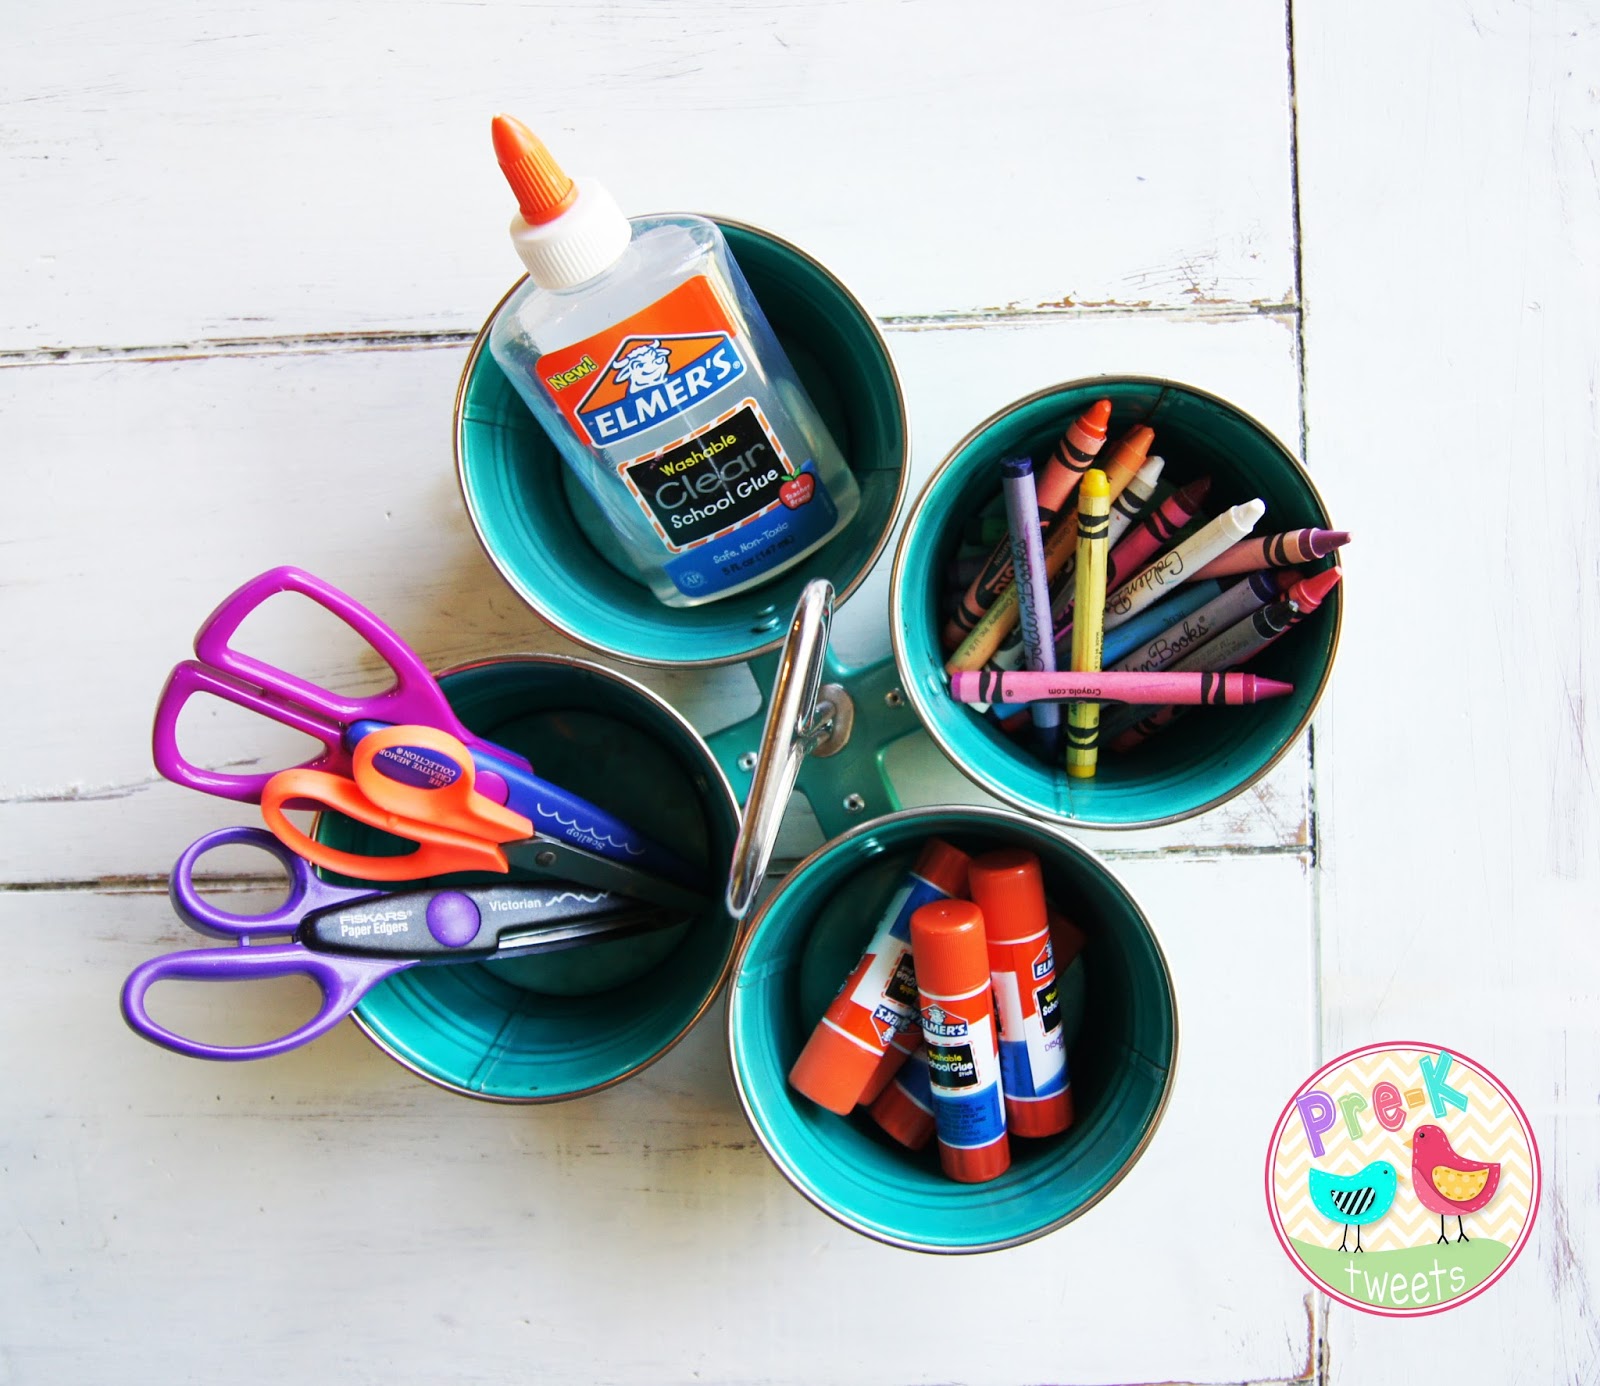
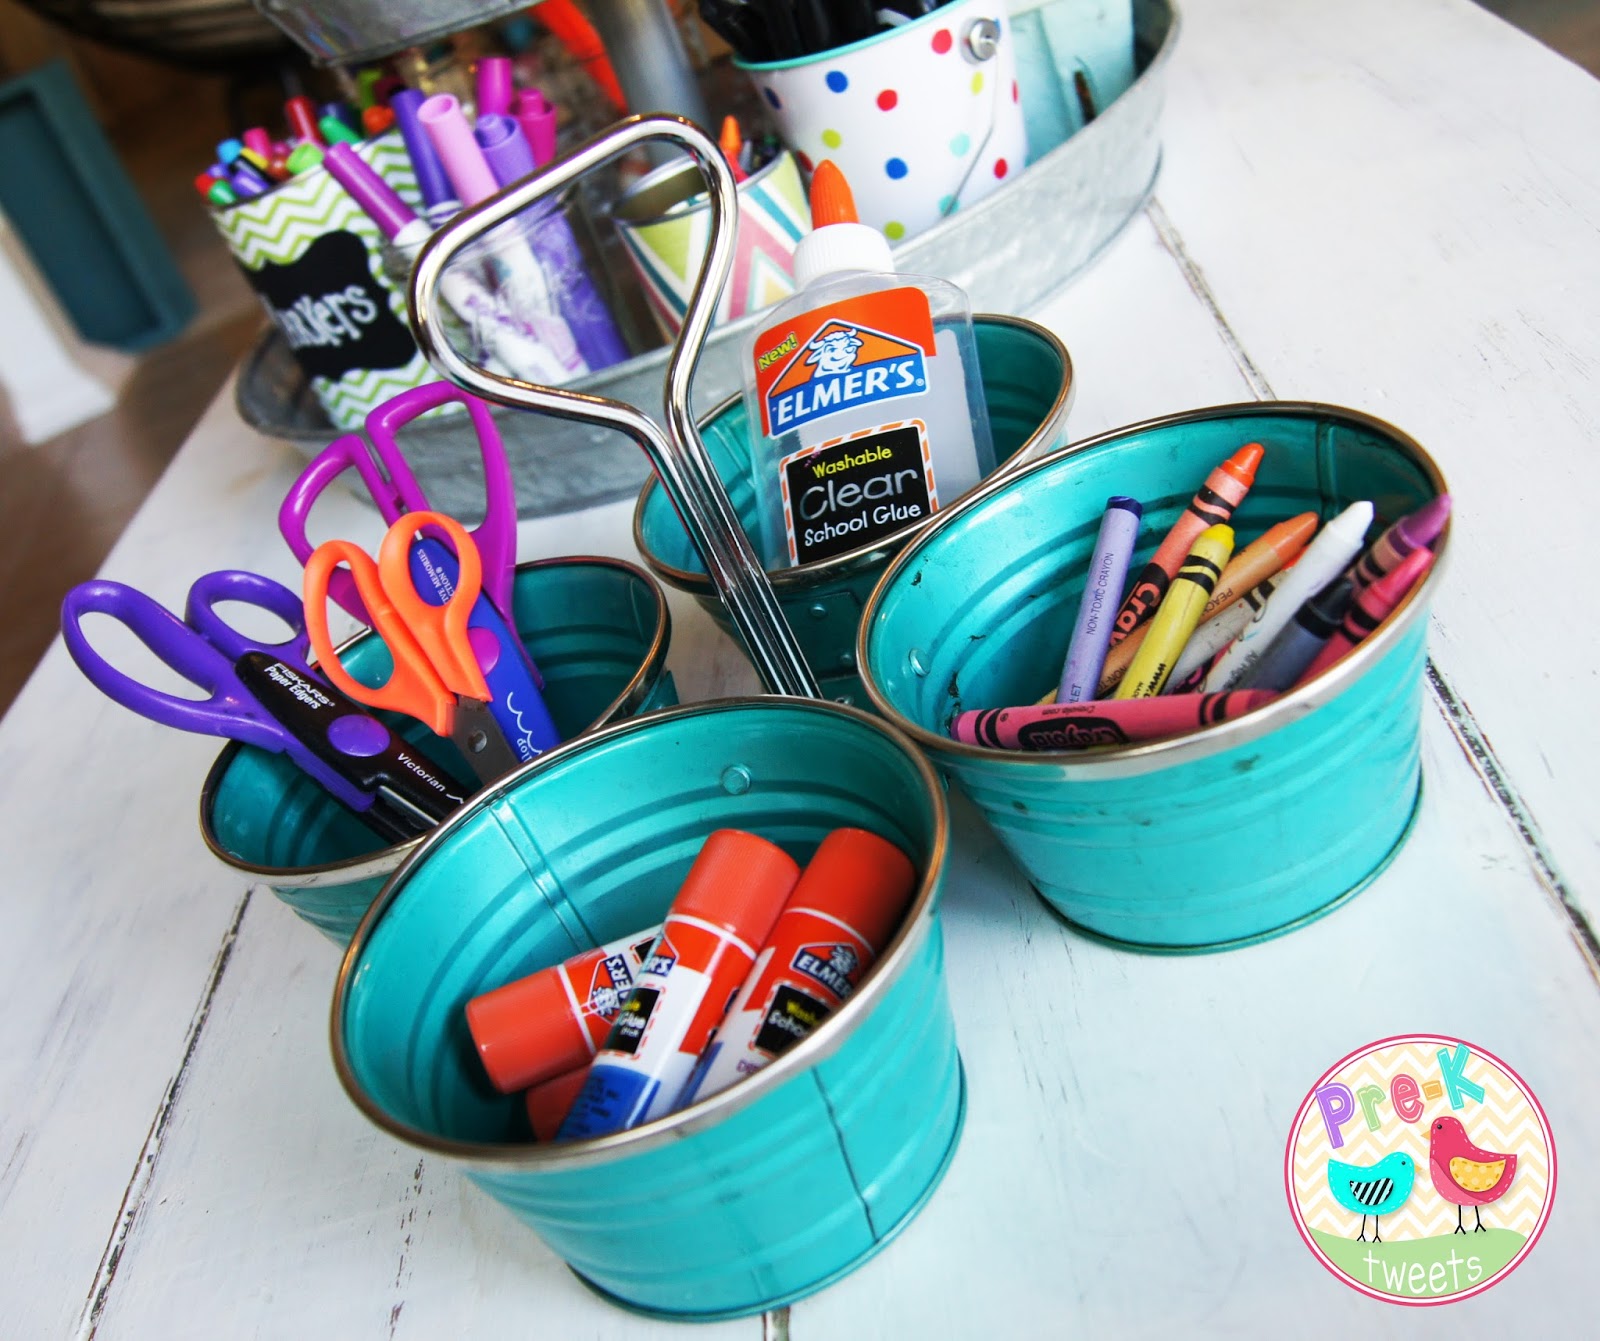
For crayon tubs, I found the perfect containers (with handles) in the hardware store...of all places! Students can easily grab them for activities and take them to group tables.
I've had classrooms where I did not have enough shelves or bookcases. I needed additional large storage for learning centers...

Stacked crates make great mini book shelves or book cases. As you can see in the photo, they are the perfect height for pre-k. I easily zip-tied the crates together so they were attached non-permanently in case I needed to use them for something else.
I've also brought in additional storage shelves.

These cube shelves are easy to put together and hold tons in the art center!

Themed items are organized by season and into large plastic tubs. I created laminated labels from scrapbook paper and Velcro-ed to the tubs. I've stored items not currently in use in classroom closet and in my garage. But let's face it, even with a classroom closet (which a lot of classrooms don't have), there is just never enough room! I've collected a ton of games, toys, manipulatives over the years and I can honestly say I've used it all..every year! I've stored many of these organized tubs in my garage and just pull them out when the theme/season changes!
And now...for the Pre-K Tweets organizational DIY: Tin Can Containers!

Tin Can Containers DIY... Tin cans come in many sizes and can be so useful in the classroom! They can hold writing utensils, art supplies, and even Box Tops! Learn how to craft stylish tin can containers for your classroom...

Select paper that matches the theme or color scheme of your classroom. I chose this colorful chevron scrapbook paper by The Paper Studio from Hobby Lobby.

Remove the labels from the clean empty cans. Be sure there are no sharp edges left over from your can opener! If there are, you can cover them with colorful duct tape.

I use the string/yarn to wrap around the can to measure what length size for the paper. Then I hold the string up against the paper to figure out the length. You might not have enough length paper for large cans and will have to use 2 pieces.

Measure the height of the can, too. You want the paper to fit just inside the top and bottom rings/ridges. Cut the strip of paper and measure it against the can just to be sure before you start taping/gluing.

I used double stick tape to attach the paper strip to the can. Hot glue or a glue stick will work as well. I find the tape is easy to use and really holds the paper on! I found it easier to put the tape on the outside of the can first and then wrap the paper on top. (Instead of putting the tape on the paper first.)

Then, label and dress up your covered tin cans! Chalkboard stickers work well. You can also use chalkboard tape or construction paper. Use a paint pen or chalk maker to write. I like to spray or paint a clear coat of acrylic sealant to the label so the wording doesn't rub off. You can also run the label through a laminator.

You can also add fun clothespins or ribbon to dress up the tin cans! So fun..and inexpensive!

Here's a few cans I made for my classroom last year. Students loved getting to insert their box tops in the (empty coffee) can! The other can is covered in a burlap ribbon.

I hope you love this Tin Can Containers DIY as much as I loved making it. Let me know in the comments section if you would enjoy more Pre-K Tweet's DIY's and also feel free to share YOUR classroom organizational ideas! Happy teaching!!!
No comments:
Post a Comment
Note: Only a member of this blog may post a comment.