imagemap

Showing posts with label room decor. Show all posts

Friday, September 2, 2016

Organization & Tin Can DIY


Hello friends! Today I thought I'd share with you a few tips on how to "organize in style" in the classroom! I've also put together a fun tin can DIY for you at the end of this post! 


Are you a new teacher overwhelmed with lack of storage and space in the classroom? Are you a returning teacher and needing some stylish storage advice to update your room? Perhaps you are headed back to school this week and are looking for a few quick organization ideas to start the new school year off. 


When you start planning classroom organization you think of cute labeled bins, matching colorful containers, and a place for everything/everything in it's place, right? Classroom decor, storage, and organization ideas have come along way! There are so many kinds of boxes, bins, containers and even items you can create to store your classroom supplies!


When setting up your classroom you will have to think about literacy, math, & science manipulative storage, arts & crafts storage, curriculum storage, etc. You will have to keep in mind ease of access for students to grab materials. You will also have to think about long-term storage. What will you do with items that are not used everyday? 

My very first new teacher purchase was to help me organize my new classroom... bright plastic bins from the dollar store! They were inexpensive, useful to hold art supplies/manipulatives, and fit just right into my classroom storage cabinets. 


I created labels, laminated the labels, and attached with Velcro. Velcro is SO useful in the classroom and I love it so much for labels. I often switch labels around and move things around to different size containers and Velcro makes things non-permanent! These bins have lasted me quite a few years!


If you are searching for some cute and EDITABLE labels you might want to check these Pre-K Tweets Chalkboard Labels out. They are new for fall and oh-so-cute! 


Another idea I like to use for storage is plastic shoe boxes. They are transparent and stackable!


I purchase my shoe boxes from The Container Store. I love them because they have clear lids and are inexpensive. I also like that when I need more I can just order them online AND I know they will have the exact size I need. I don't have to go hunting back to a store looking for the matching boxes with a turquoise lid or the same exact size.


I have used these storage boxes in my art supply cabinet in my classroom and also for craft supply storage at home. 


For a stylish and matching look, attach chalk board stickers (can be purchased from a craft store) and label with a white paint pen!

My go-to staples for classroom organization are: baskets, bins, crates, and mason jars!


I search home decor aisles, discount stores, Save-on-Crafts.com, and garage sales for these kinds of containers!


Mason jars are great for your writing or art center storage! You can paint them (or leave them plain) and students can practice matching like colors into the jars. 

Sometimes you have to think out-side-the-box about classroom storage for supplies! I've often had to get creative and think of other uses for things. 
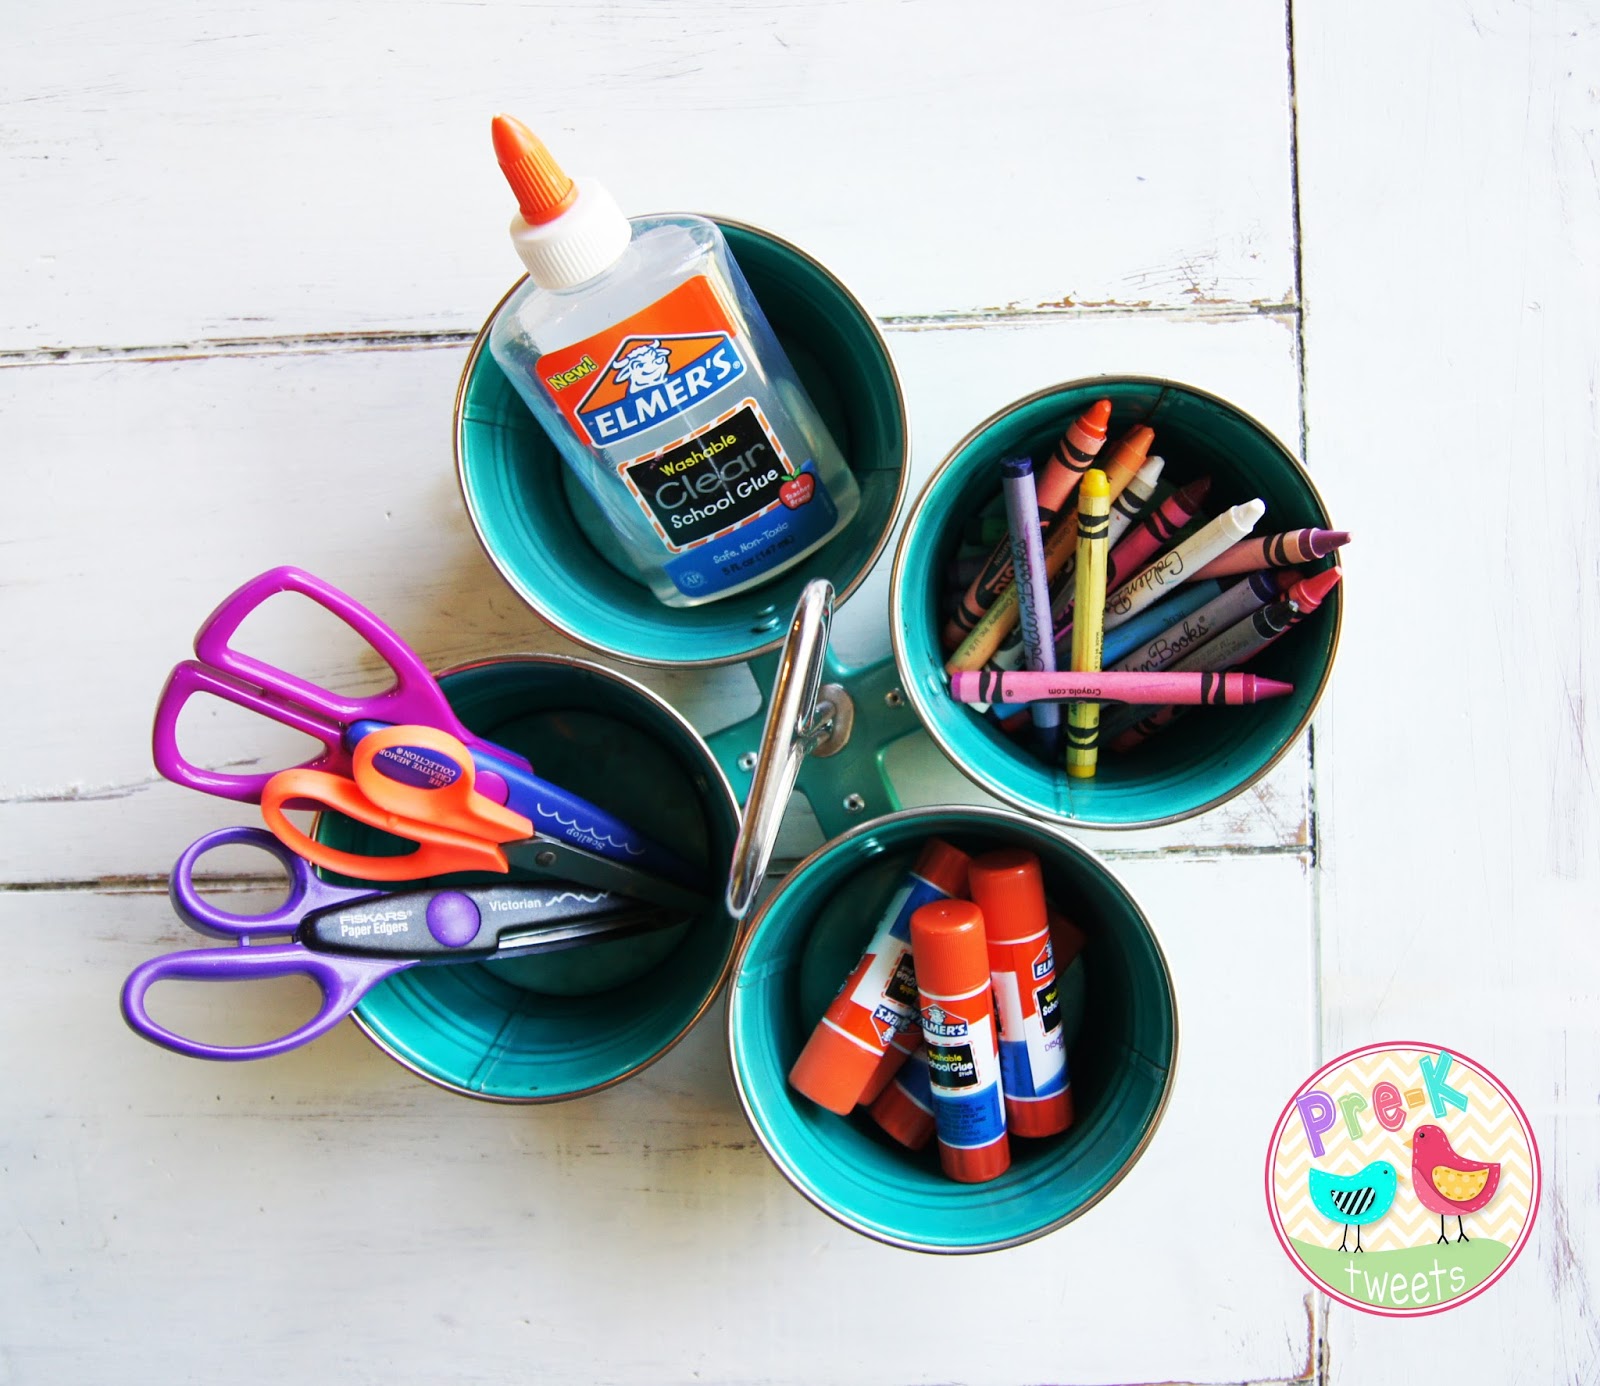

I purchased this silverware caddy on clearance and I've used it in the classroom for my desk supplies and also during art projects!
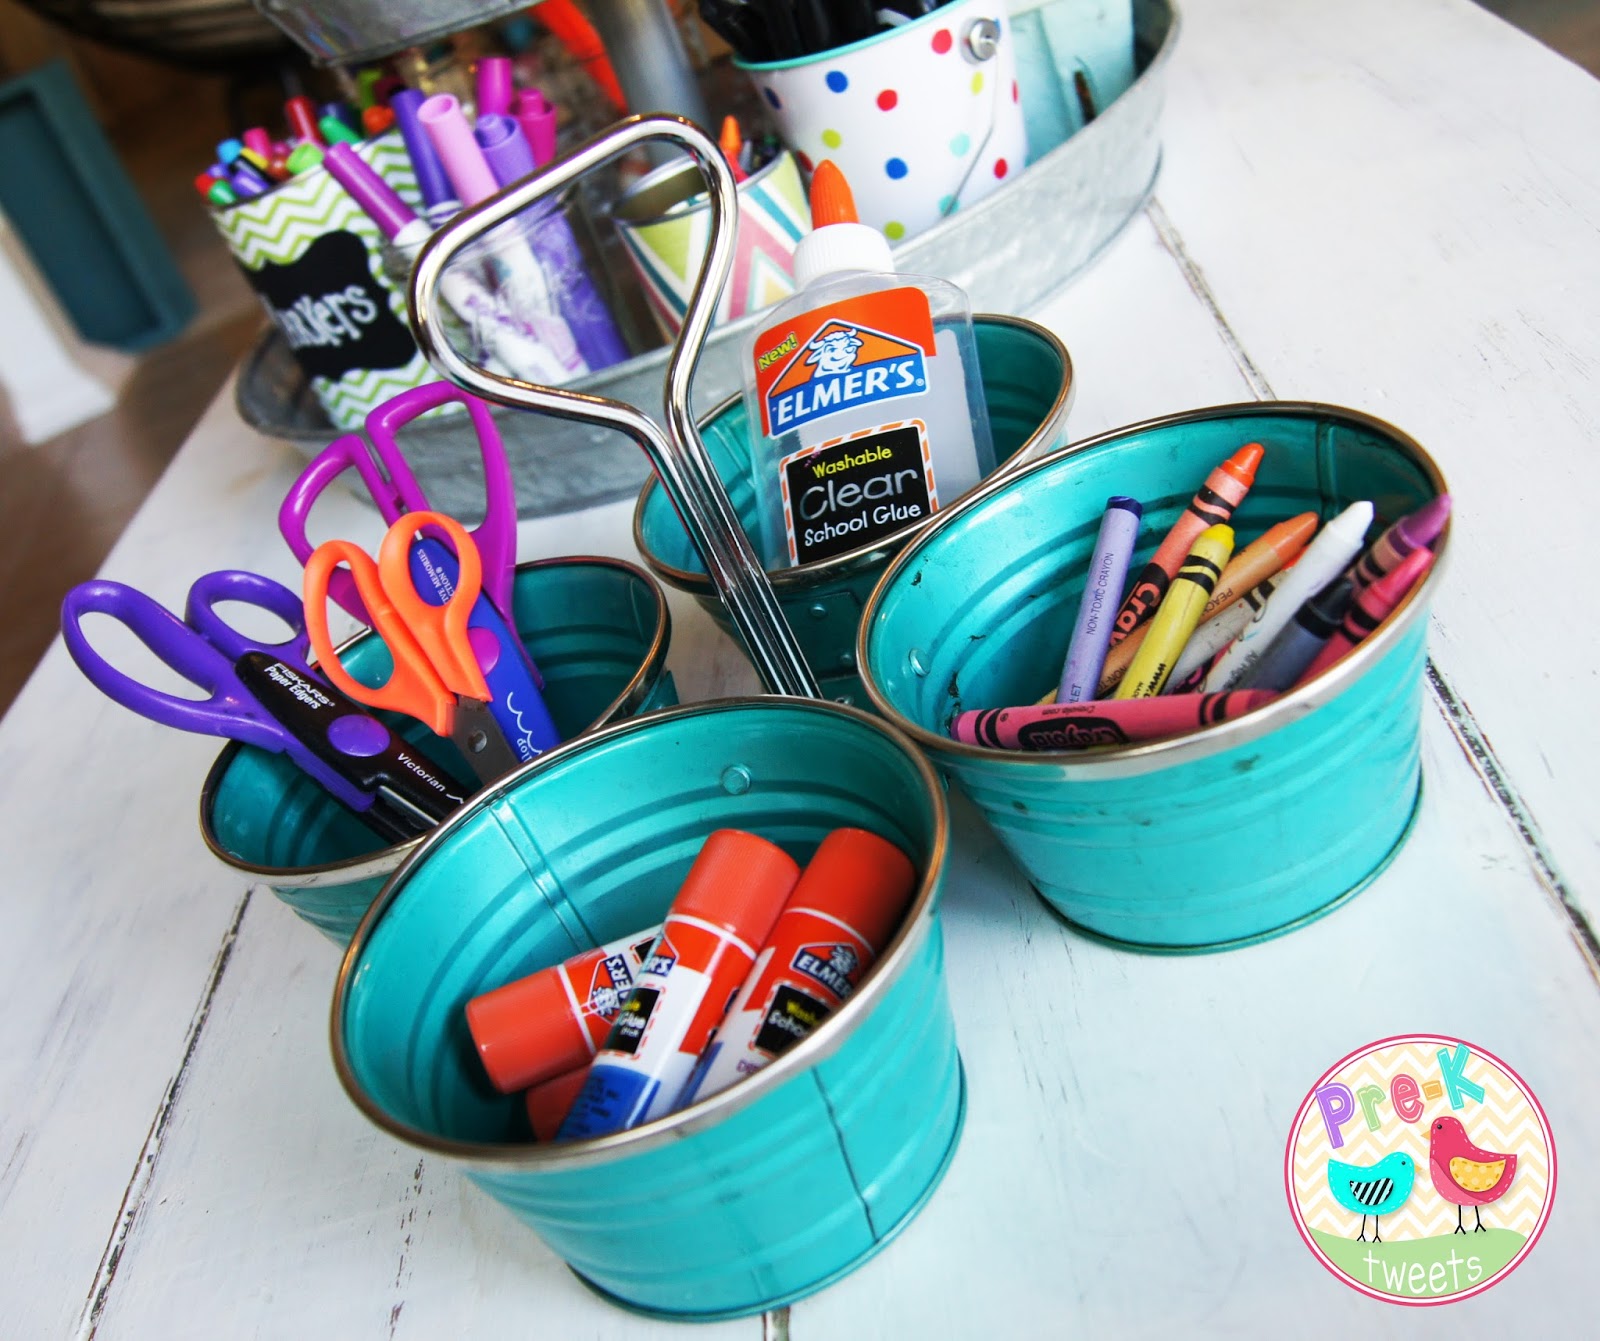

I love things that serve double-duty and that I can borrow for other uses!


For crayon tubs, I found the perfect containers (with handles) in the hardware store...of all places! Students can easily grab them for activities and take them to group tables. 

I've had classrooms where I did not have enough shelves or bookcases. I needed additional large storage for learning centers...


Stacked crates make great mini book shelves or book cases. As you can see in the photo, they are the perfect height for pre-k. I easily zip-tied the crates together so they were attached non-permanently in case I needed to use them for something else. 

I've also brought in additional storage shelves. 


These cube shelves are easy to put together and hold tons in the art center! 


Themed items are organized by season and into large plastic tubs. I created laminated labels from scrapbook paper and Velcro-ed to the tubs. I've stored items not currently in use in classroom closet and in my garage. But let's face it, even with a classroom closet (which a lot of classrooms don't have), there is just never enough room! I've collected a ton of games, toys, manipulatives over the years and I can honestly say I've used it all..every year!  I've stored many of these organized tubs in my garage and just pull them out when the theme/season changes!


And now...for the Pre-K Tweets organizational DIY: Tin Can Containers! 


Tin Can Containers DIY... Tin cans come in many sizes and can be so useful in the classroom! They can hold writing utensils, art supplies, and even Box Tops! Learn how to craft stylish tin can containers for your classroom...


Select paper that matches the theme or color scheme of your classroom. I chose this colorful chevron scrapbook paper by The Paper Studio from Hobby Lobby. 


Remove the labels from the clean empty cans. Be sure there are no sharp edges left over from your can opener! If there are, you can cover them with colorful duct tape.


I use the string/yarn to wrap around the can to measure what length size for the paper. Then I hold the string up against the paper to figure out the length. You might not have enough length paper for large cans and will have to use 2 pieces. 


Measure the height of the can, too. You want the paper to fit just inside the top and bottom rings/ridges. Cut the strip of paper and measure it against the can just to be sure before you start taping/gluing. 


I used double stick tape to attach the paper strip to the can. Hot glue or a glue stick will work as well. I find the tape is easy to use and really holds the paper on! I found it easier to put the tape on the outside of the can first and then wrap the paper on top. (Instead of putting the tape on the paper first.)


Then, label and dress up your covered tin cans! Chalkboard stickers work well. You can also use chalkboard tape or construction paper. Use a paint pen or chalk maker to write. I like to spray or paint a clear coat of acrylic sealant to the label so the wording doesn't rub off. You can also run the label through a laminator.  


You can also add fun clothespins or ribbon to dress up the tin cans! So fun..and inexpensive! 


Here's a few cans I made for my classroom last year. Students loved getting to insert their box tops in the (empty coffee) can! The other can is covered in a burlap ribbon. 


I hope you love this Tin Can Containers DIY as much as I loved making it. Let me know in the comments section if you would enjoy more Pre-K Tweet's DIY's and also feel free to share YOUR classroom organizational ideas! Happy teaching!!!

Monday, July 25, 2016

Pre-K (and kinder!) room arrangements!

I remember being a new teacher and waiting so anxiously to get into my new room! I tried to imagine what it would look like...the center areas, the little tables and chairs, the storage space, etc. How would I arrange my new room? What centers would I have? Would I have enough shelves and tables? Those were just a few of the hundreds of thoughts I had before I started school. I drew my layout on notebook paper late at night when I had new teacher jitters and on napkins as I waited for my food in restaurants. 


The day had come, and after I saw my classroom, I had to reconfigure my arrangement based on the space, furniture, and other obstacles. I knew I had to have space to put down cots for nap time, I needed a small group table/teacher aide work space, I needed the tables to do double duty for activities and lunch time, I had to work around the built in carpet, cubbies, teacher desk....the list went on and on! My advice is to make a list of necessities and plan those areas first. Sometimes you will have to work around not having enough storage or tables, funky pieces of furniture that have to stay in your room, outlets in goofy places, etc. You will have to get creative! Also, It's perfectly fine to redo your arrangement during the year and switch it up! I've always changed my arrangement at least once a year and I always want something different as a new school year begins.  The classroom should be a happy & comforting place for students and teachers as well!


During college courses and internships I learned about early childhood room arrangements. The shelves should be low, all materials on open shelves are for the students, everything labeled, plenty of walk space, etc. I took notes as I toured classrooms and poured over those cute teacher blogs! : ) But only from my own teaching experience, I truly learned the importance of classroom space & design.


Here are a few of my favorite classroom floor plan arrangements that I've had over the years. We might not have the same furniture or same amount of furniture but I hope it gives you at least a few ideas to work with! Happy planning! 


I liked this arrangement because there was plenty of room between the centers and tables. I bought the cube shelves from Target. They made a great room divider, held storage, and you could see through them so it made the classroom a light & airy feeling! The large group time carpet was built into the floor so it couldn't be moved. I double duty used it for our whole group lessons & for block play. The art center and easel were conveniently located to the sink for easy clean up. The light table was next to an outlet and book shelves were used as center dividers. I also used some of the backs of bookshelves for felt boards and to display vocabulary. The cabinet next to the door was used as a parent sign-in station and the rug there was used as our safe spot.


I liked this arrangement because placing the library center at the entrance of the classroom provided for a homey/living room look as students entered. The safe spot was located closer to the teacher work area tucked into a corner and the pretend center had plenty of space. I also liked having a defined blocks center. Students could leave out special constructions during transition time and return to them later. 


In this floor plan the safe spot was moved near the cubbies and the light table was moved to the back wall. I traded in a table in the discovery area to allow students to have more workspace. Also, the library area was moved to the middle and made the classroom feel much larger. There was also a book shelf/cabinet placed behind the group time carpet.  The cabinet held puzzles and morning tub manipulatives. 


Here of a few photos of some of my past classroom arrangement ideas! They are a mix of photos and from different years. Enjoy! 

Parent sign-in station...the back of this cabinet (which actually used to be the pretend center fridge) stored crayon buckets!

Pretend center in the corner...

Here's another pretend center area where I had it in front of the window...

Discovery/science center close to the classroom entrance... Chairs were bought at Ikea and they have remained in great shape! Baskets were bought at garage sales and www.saveoncrafts.com

Discovery/science center 

Here's another discovery area idea in the corner with bookshelf and table...

ABC center with use of table, magazine rack, and bookshelf. The shelf on top of the table is an over the sink shelf. I bought it at a garage sale and sometimes use it for storage under the Smartboard! I love items that do double duty!

Portable light table on top of Ikea table with magnet board behind.

Safe spot and crayon tub storage...parent sign-in station with folder drop off bucket...

Built in group time area... (labeled apple baskets awaiting school supplies on Meet the Teacher Night! Get your labels HERE!)

Built in cubbies and rectangle table used for breakfast...

Rolling blocks station that could be moved to the big carpet for play. 

Another year, I made a bigger blocks area. I turned over the dress up closet/mirror and utilized it for block play/storage. The rug is from Ikea and I love the mellow colors!

Math center table and bookshelf/cabinet...

Library area when it was in front of the window. I created extra storage from zip tying Michael's wooden crates together to make a bookcase. I covered an existing felt board with burlap to tie in the neutral colors. The chairs were half price (yay!) from Garden Ridge/At Home store...the rug was bought there too. 

In this arrangement the library center is near the classroom entrance. It's defined by a rolling book cart and writing station cart. The writing station cart actually used to be the blocks cart, lol. Like I said..I have done a lot of re-planning and rearranging in my teaching career. It's fun when you find new uses for things and they work! I took the wheels off my listening center cart, flipped it over, and put a plastic bin inside...instant sensory station!

ABC station: writing center/abc games... this is when I had a whole lot of hot pink leftover from my previous classrooms...

I slowly turned over to neutrals and natural textures...it made the classroom feel much more calm, clean, and relaxed...

Math center with storage for manipulatives and a table to play the games. I used the back of a cabinet for a math pocket chart game and vocabulary. 

And last but not least...the art center built by Target cube shelves.  I've hope you've enjoyed my little room arrangements tour and I hope you've found some useful ideas for your new or existing classroom!  If you have any questions leave them in the comment section below. Happy planning & happy teaching! ~ Christian