imagemap

Showing posts with label construction. Show all posts

Thursday, August 4, 2016

Learning Centers Blog Hop Series: Blocks Center


Hi friends! I've been invited to participate in Pre-K Partner's Learning Centers Blog Hop Series! The series will run through November and will highlight unique learning center ideas...the first topic we will talk about is the blocks center! The blocks center is a very busy place in an early childhood classroom! Ideas are being brought to life and a child's imagination is on display. Students are practicing a variety of skills through exploratory and constructive play!


I've had many different setups of block centers in my teaching career but I like this one the best! (pictured above and below)


This learning area provides plenty of space for students to build, construct, create, and PLAY!  It is welcoming, organized, and has plenty of different blocks and "loose parts" to build with. I've always liked to set up my learning centers as an invitation to play.  Once, when I was in elementary school, I was asked what I wanted to be when I grew up. I replied, "I want to be a teacher so that I will get to set up the blocks center!" Don't you just love those students who (out of the kindness of their hearts) like to voluntarily help to clean the blocks center? 


I can't imagine an early childhood without a blocks center or construction area!  This learning center allows children to propose questions like what happens if? ..how tall can I build it? ..which is larger/smaller/shorter/taller? ...what changes can be made to make this structure better? Math and science connections are being formed by doing instead of watching. 

Imaginary and/or realistic plans are then carried out and experimented with. Pretend play usually occurs, stories are invented, and props are described to one another. Verbal and social skills are being practiced in a playful environment. Children are learning how to share, cooperate, and take turns.   


The blocks center is also important because it allows creativity to bloom and transform! I posted vocabulary picture cards and cool around the world building photos in our blocks centers. We also had clipboards in the center for the past couple of years. Students can get inspired (if needed), draw their "plan," and build! We also followed the construction of a hobby farm throughout the year! Photos were posted in the blocks learning area.


I've always themed my block learning area to whatever we were studying about as a class. Blocks centers do not have to have a theme at all. I feel it themes give extra emphasis into the learning topic and helps get students more inspired to play as well! Plus, my little friends have always been excited with I switch out the manipulatives and toys in the centers! 


These are the items I like to include in my blocks area:

A variety of blocks - Different sizes and shapes..wooden and soft blocks.

Baskets - I like them because students can take them out of the shelves and carry the baskets around with them to clean up. I also think it helps organize and keep the center looking tidy. 

Real pictures of buildings - Sometimes students need a little help getting inspired! 

Vocabulary cards - I've had many students who like to label their projects! I also believe in posting environmental print. Students get excited to see familiar signs, logos, and store names and therefore get excited about reading!

Clipboards, paper, and pencils - To draw out plans and ideas..to make "Construction in Progress" signs...and to label their creations!

Books - Books about construction, vehicles, the theme we are studying, and construction ABC/number books. Students also like to use maps, diagrams, and real estate magazines as references! 

Vehicles and people - Children will turn anything into a truck or superhero...but toy matchbox cars and character people are fun too! I painted "clothespin people" (and superheros) to add to the fun in our blocks center! (used acrylic paints!)


Other items to consider:

Stuffed animals, Beanie Babies, and puppets...

Interesting and recycled parts like egg crates, pvc pipes, boxes, and toilet paper rolls.

A "loose parts" basket. For example, during our spring theme our "loose parts" basket contained small plastic insects and fake flowers. Students could use the loose parts as an addition to their constructions. 


I believe the teacher's role during block play is to act as a guide or facilitator. Instead of simply asking, "What is it?" when coming across a construction in progress...say, "Tell me about it" or "How did you think of that?"  Teachers can ask as motivators and ask students what their next plans are and what materials do they think they might need. 


Teachers can use time in the learning centers to ask questions and encourage students to problem solve! Teachers also can use center time to document, take photos, and record student learning with anecdotal notes. 


I hope you enjoyed this little sneak peek into the blocks learning area of our classroom. Be sure to stay tuned for all the amazing classroom ideas to come during the Pre-K Partner's Learning Centers Blog Hop Series!

Now hop on over to Fun in ECSE for more blocks learning center ideas! 


Monday, March 24, 2014

Wooden Sculptures and Observational Drawings!

We started this project during our construction study in the Spring.  We received a tub of all these wooden shapes at the beginning of the year with our teaching manipulatives and I really didn't know what these shapes were for. We kept baskets of them in our blocks area and some in discovery center during our construction study.  Pretty soon students were rolling them, stacking, and seeing how high they could build.  I found the idea for this project from PlayfullyLearning.blogspot.com ....And thus began our wooden sculptures project!

 Here is a bit of an outline of our project:

Day 1:  We set out baskets around the classroom floor filled with these wood shapes and invited students to continue exploring and experimenting.  They started making their own individual creations and then invited them to draw what they had made.  We had talked in earlier discussions about what a scientific drawing is..."drawing what you see."  (Later this led us into a discussion about perspective drawing...I love that I get to talk about art and introduce these new concepts with PRE-K!)  Through observing and asking questions to groups exploring their shapes, we were able to have conversations about size seriation, balance, and weight!  I saved their drawings and their wood shapes went back into baskets.

Day 2:  Students were given back their drawings and now the drawing was used as a "plan."  We talked A LOT about using a plan for ideas all throughout this year.  Students used their drawing/plan to re-find their pieces and follow steps to put their sculptures back together....the fun part!  Most students stuck to their original plans and a few replaced certain pieces with other pieces...and that was totally fine! ..it was THEIR design!  During this segment, students were asked questions about the sequence of their design. What must happen first?  Then, when students felt like their sculptures were finished they glued the pieces together with Elmer's glue.  (Playfully Learning suggested using a paintbrush and glue..which worked well.)  I also had bought flat (different sized shaped) wooded bases at Hobby Lobby for their projects.  Which was interesting to see which base they chose that would fit their sculpture.

Day 3: Students used watercolors to paint their sculptures.

Day 4: Students created another scientific drawing..this time adding in color!

Day 5:  Students (who volunteered, and all wanted to) shared to the class about their sculptures. Their end products were AMAZING.. all unique and different. They expressed to the class how they came up with their ideas, what inspired them, and what it represented to them.  Although the end products were great, the overall learning experiences were fantastic!  I love open ended projects, full of choices, that allow creativity! By asking students open ended questions when they are creating..you will be blown away by their thought processes!  
Here are some photos that show our steps to creating this art.  What's even more amazing is that students could retell parents the steps they followed for this project!  First I found my shapes...then I looked at them and drew them..then I had to use my paper/plan to find my shapes again and build it...etc.   This student informed us that this was a bowling sculpture and that it is getting knocked down. 
This student connected two bases to fit her design.  She said, "First you press the button, then the little man hops on all the trampolines to get to end!"  
I just love how the sculptures are all unique..not one the same! Students were interested, engaged, EXCITED to share, and PROUD of not only their project but their learning!! They really surprised me by how well they observed and drew what they saw!  

Thursday, June 13, 2013

Wings and things!

As I was going through past photos of this year on my camera card..I found the long lost photos of our insect jars!  This was such a fun activity and it incorporated nature/creativity!  I printed off the mason jar template from here: http://sweetlyscrappedart.blogspot.com/2011/07/mason-jar-i-love-mason-jars-free.html

Then, during our insects and garden unit,  our class went for a nature walk and collected all little sorts of nature artifacts in ziploc baggies.  I pre-labeled the baggies with their names and all my assistant had to do was pull out their nature bag when it was their turn for art. 
I love how precise this one is... This student is always very careful and takes time in whatever she does.. We visited our school pond and it looks like she made some lily pads in her jar! 
Students were encouraged to illustrate their own insects...
I love this student collected a little bit of dirt...she said it was in case her ladybug got hungry..HAHA! 
I picked this game up at a garage sale last summer..FOR A DOLLAR!  So much fun...the bees are in the hive..students take turns pulling out the leaf sticks..a few bees fall into the personal trays and students count their bees at the end! LOVE IT! 
SO FUN when I see skills being practiced in action!!  Candid photos are the best!! I save my old cell phones and put a few in the pretend center so students are encouraged to practice oral language skills.... I had this one Spanish only speaking student this year..He could talk up a storm on one of these old cell phones!
I've been trying to encourage writing in all of the centers...  interesting and unique writing utensils like crayola twist up colored pencils, gel pens, and these flower pens are fun ways to get students to WANT to write! 
"telephone"  leave a couple of these pvc pipes in a center.. and just see what wonderful things can happen!  
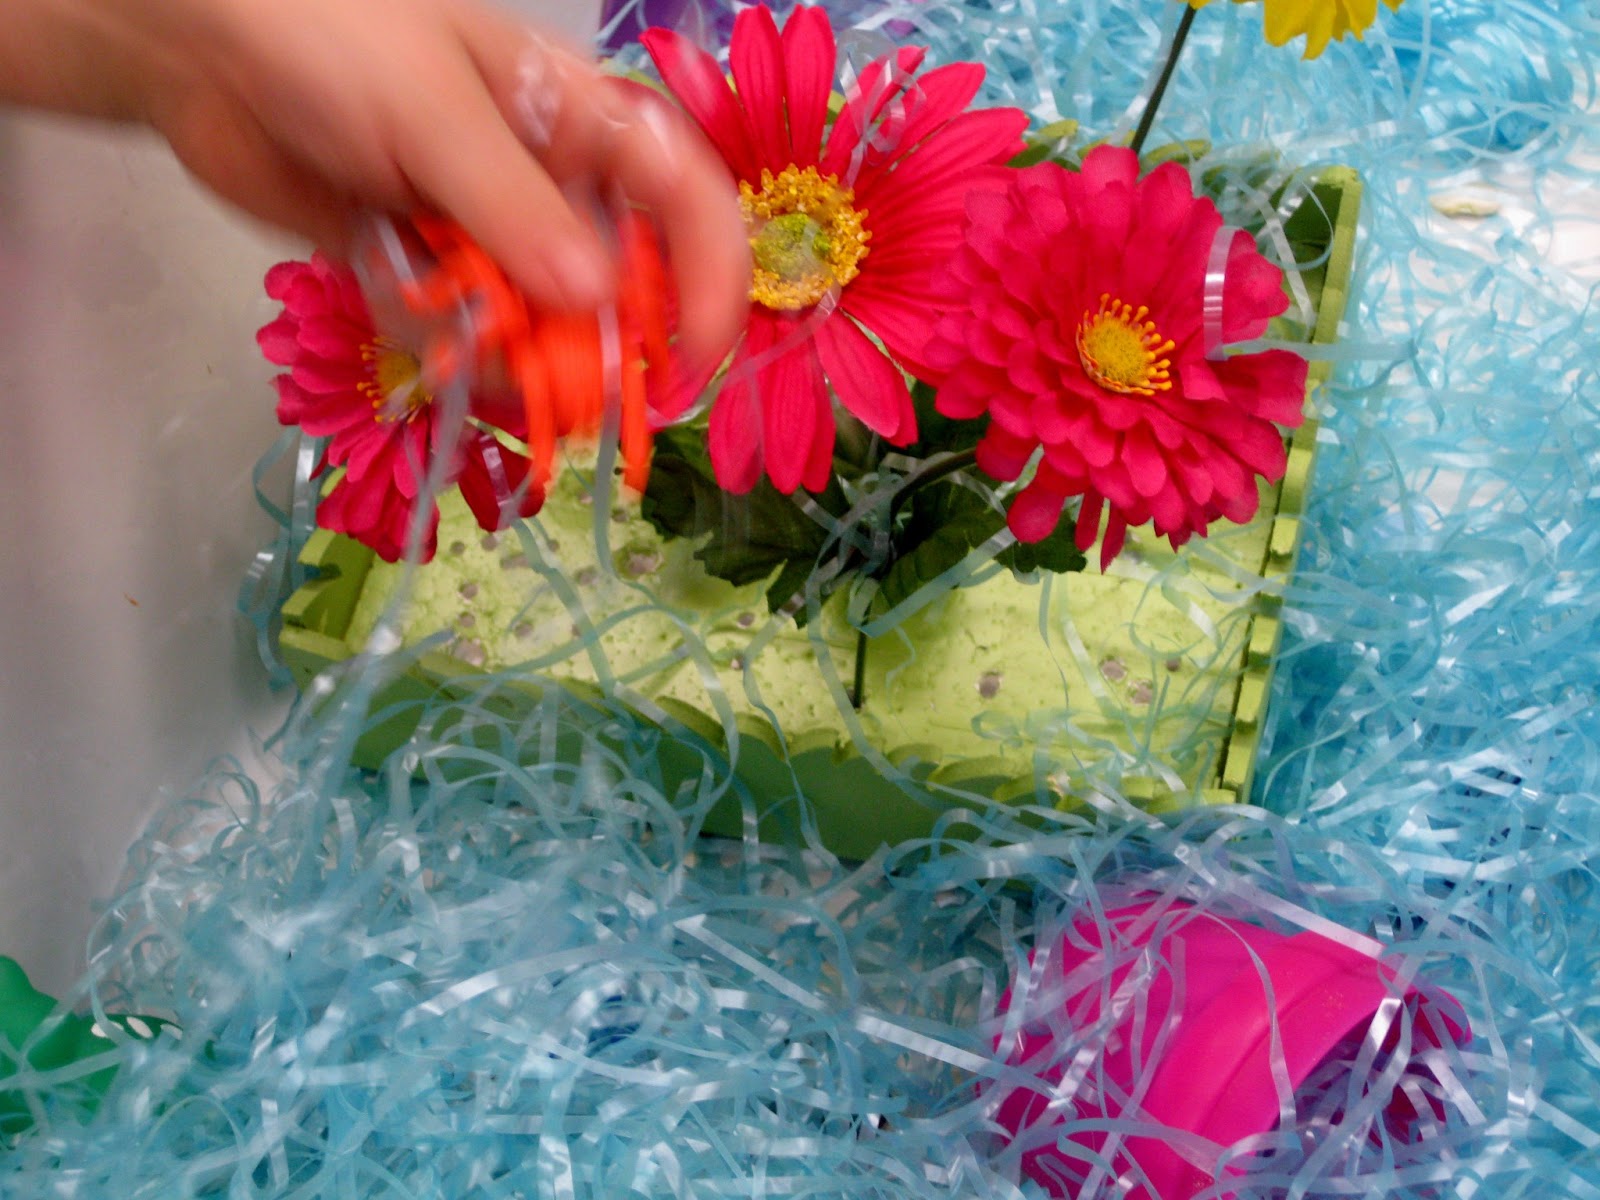
FLOWER POWER!! These grass styrofoam boxes were a display to hold mini pinwheels at hobby lobby..I asked the manager if  I could have them and he gave me four!  Students practiced flower arranging and fine motor skills in the sensory tub! 


Friday, March 29, 2013

Construction Unit Part II

I bought a printable tool unit off of teacherspayteachers.com ..it came with many vocab cards, games, and activities..well worth the purchase!  You can purchase it for $4 from:
 http://www.teacherspayteachers.com/Product/Tool-Preschool-Unit-Printable
Wouldn't  the new Disney movie "Wreck it Raph" go so perfectly with a construction theme?! I see a Wreck it Ralph/Fix it Felix sensory bin or math game in the future! 
Construction vocab in all the centers...

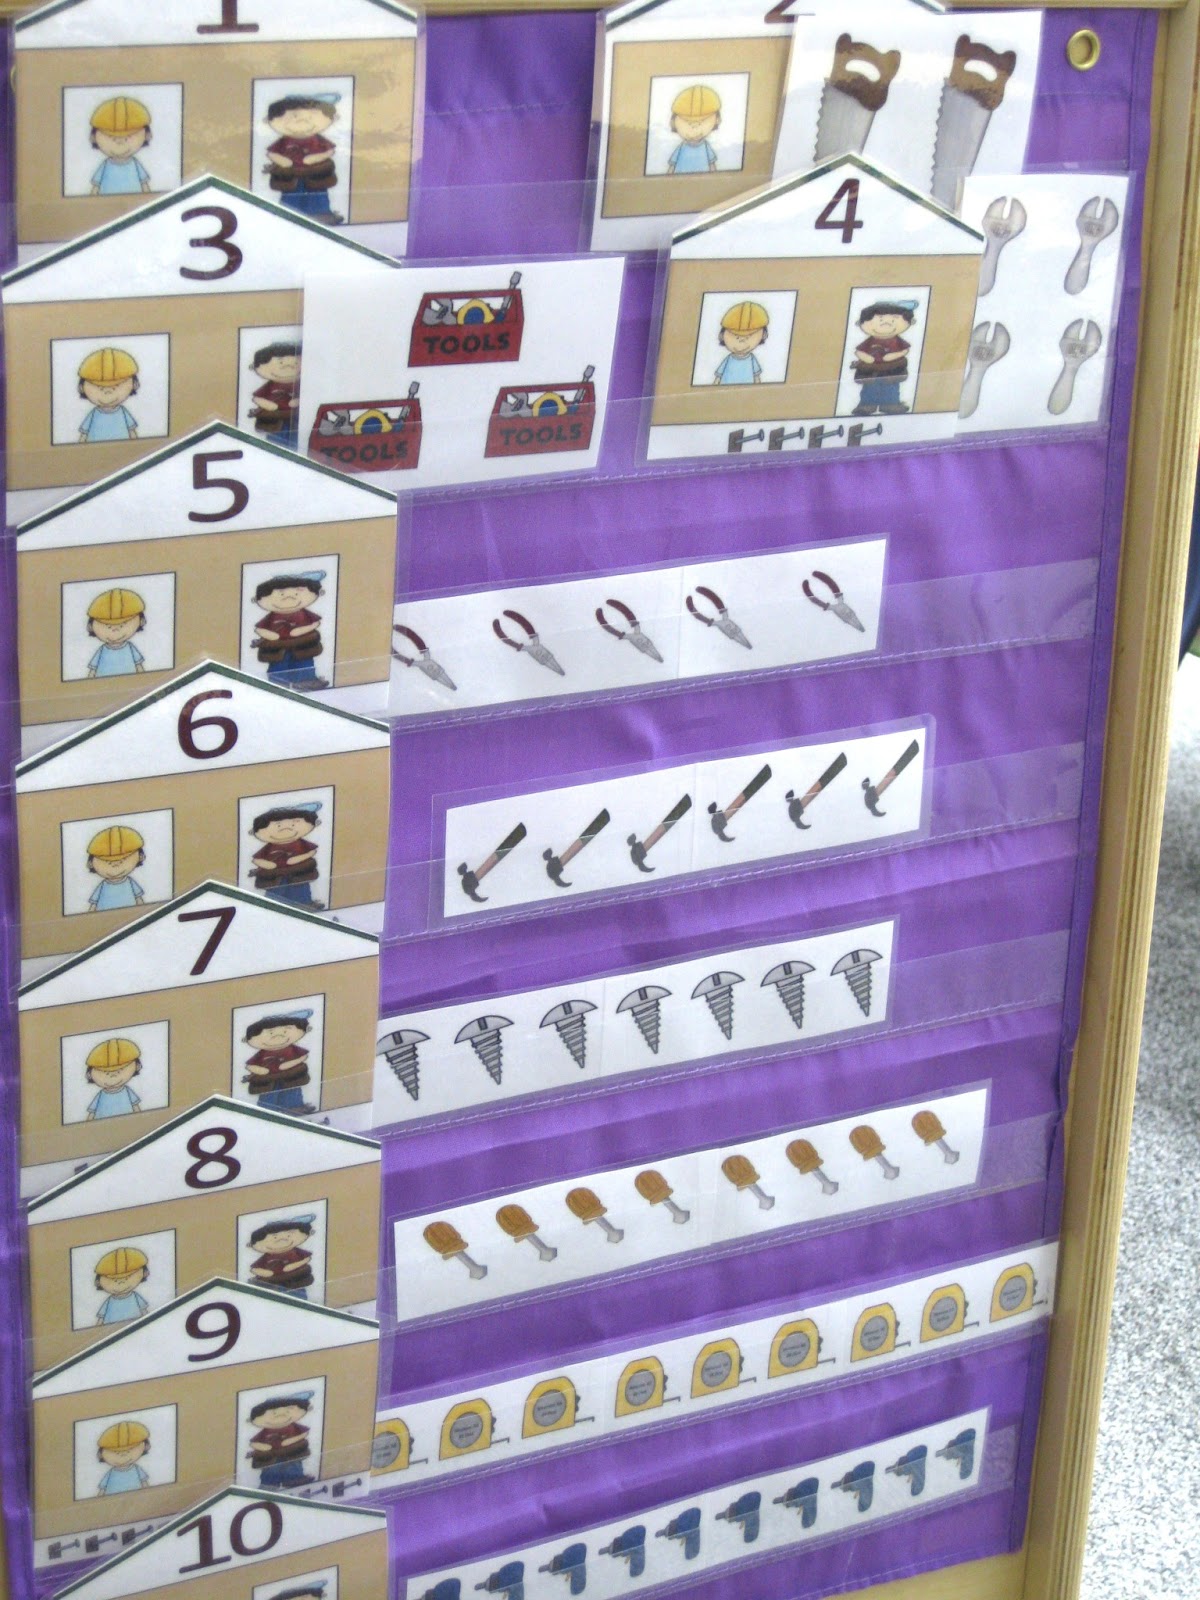
Here is one of the games from the printable pack I purchased...fits perfectly in my Target dollar bin mini pocket chart! 
My construction unit flows into transportation and community helpers...These truck math mats are from another printable pack called "On the Road and in the Air." Click this link to purchase: http://www.teacherspayteachers.com/Product/On-the-Road-and-in-the-Air  
This pack also comes with word wall cards, flannel board stories, and a fantastic community helpers bingo game!
This is from the same pack also... For this math game, students choose how many people to ride in their airplane, train, or boat, count, and write the number.. I laminated my mats but you could also use plastic sleeve protectors.

Saturday, March 2, 2013

Wait! No Paint!


As part of our construction/community theme we have been reading different versions of the three little pigs. During our unit the pig characters are viewed as "builders/construction workers."  Our objective last week for literacy group time was to identify the beginning, middle, and end of a story.  Students have learned the roles of author and illustrator previously. In this story, "Wait! No Paint!" the illustrator interrupts the story and the pigs protest at the end for paint. The story is left untold with no complete ending!  I expressed to my students how they could take on the role of the author and the illustrator and finish the story. Students took turns verbally sharing ideas of how they would end the story. Then students drew the ending of their story with their choice of details, colors, and pre-k inventive spelling.   I wish I had taken photos of their amazing work!

Students also created 3 pig houses out of our recycled milk cartons! This milk carton idea came from:
http://rainbowswithinreach.blogspot.com/2012/07/three-little-pig-projects.html


Community/Construction/3 Pigs Unit

We started our Community/Construction/3 Pigs unit last Monday.  The idea of this unit came from my awesome next door pre-k teachers!  I am using "The Three Little Pigs" story to transition into community/construction.  In our class, I read the story to begin with and the students discussed the role of the characters in the story. We talked about the three pigs being "builders" and then introducing our new vocabulary with "construction workers" ...and then THAT led into building materials and tools (and more vocab!) which allowed me to introduce all the new theme related items in the centers!  This unit is broad enough to last for 3-4 weeks and can expand into students learning about community helpers and transportation!  WHEW!  ..Loving this unit and excited for all our learning experiences ahead!  The photo above is of a shelf in our blocks center.  Currently in blocks center we have:  3 pigs felt house, pig puppets, construction vehicles, community workers, cars, construction vehicles, variety of blocks, tp rolls for tunnels, a 3 pigs picture book, and informational construction books.
This is our construction sensory tub.  I used a large scrap piece of felt to cut down on the sound of the rocks.. If I had had green felt it would have even been better..to represent grass...or tan for dirt.   The tub could also be filled with sand..(or colored sand!)  
The tub contains: rocks, foam blocks for stacking and sorting (3 pigs' bricks), number magnets, mini tools, shovels, tp rolls for tunnels, popsicle sticks and driftwood (3 pigs' sticks),  plastic construction worker figures, felt roads and lakes, boats, cars, and construction vehicles.  Color sorting bowls, size sorting bowls, and measuring cups can also be added!
The pretend center has been turned into a hardware or
Lowe's/Home Depot type of store.

The "store" contains:
 pvc pipes and connectors
foam blocks for screwing and nailing in golf tees
pots for stacking
watering cans
paint pails
paint brushes and rollers
tiles
carpet squares
paint chips (color sorting!)
house building magazines and brochures
construction or gardening gloves
real tools (small wrenches, levels, screwdrivers)
pretend power tools
sandpaper
toolboxes
cash register
shopping baskets
canvas apron
khaki button down shirt


The store also will have vocabulary cards posted for building materials and pencils/ note cards for writing.

I mentioned to a worker at Lowe's that I was a teacher trying to setup a hardware store pretend center and he loaded me up with all kinds of free goodies!  The the man who was working in the carpet department overheard us talking and then HE offered me free carpet samples!

The paint roller pan was actually a dollar store pan we used for our pretend bakery. The paint brushes I borrowed from my mom's garage...and the black baskets are from my husband's desk drawer (he doesn't know that yet..shhhh!) Let's hope he doesn't look in there for another three weeks because his drawer is a mess! 
These items can stay in here for our next unit, "The Very Hungry Caterpillar." The pretend center will become a farmers market complete with vegetables and flowers!


I purchased a very exciting lesson pack off of teacherspayteachers.com: http://www.teacherspayteachers.com/Product/On-the-Road-and-in-the-Air

The pack has word cards, board games, math mats, bingo game, an early reader, and so much more!

Pictured above is one of the board games in our ABC center. I added transportation erasers as game pieces and wrote letters on a counting cube.  EASY! 
My pre-k teacher neighbors next door had given me some Handwriting Without Tears letter blocks.  The teachers renamed them "Letter Builders" for the construction theme in their classroom. Our letter builders are in our ABC center.
Community helpers vocabulary posted in reading and writing centers.  I downloaded it for free from:
http://mrsalbanesesclass.blogspot.com/2012/03/more-writing-centre-postersfreebies.html
A parent donated all kinds of fun stuff that she ordered from oriental trading.  These community helper foam pieces actually will stick to our reading center felt board and can also be turned into an art project..memory game..or sorting activity!

Check out my "TO LEARN: COMMUNITY" board on pinterest for tons of great ideas and freebies I have found:
http://pinterest.com/thepinkido/to-learn-community/