imagemap

Showing posts with label organization. Show all posts

Friday, July 28, 2023

First Week of School Basics: The Building Blocks for Pre-K Success!


The first week of pre-k.. what exactly do I teach?!  

Rules & procedures... rules & procedures... let me repeat.. rules & procedures! 

From learning how to put a marker top back on... to learning how to sit and listen to read aloud... starting the year off teaching rules & procedures will build a strong foundation for a successful year! 


The first week of pre-k is a not just a mere beginning; it is the start of a little one's first journey into the world of learning (alongside other little human beings)! It's a fun time with teachers, parents, and caregivers come together to create an exciting environment that fosters growth, curiosity, and meaningful connections! 

It's also a time to get to know our new friends and build a classroom community! But in order to do that, students must learn the class rules, how to handle materials, how to sit & listen, how to line up, where things are, bathroom procedures, how to clean up, fire drill procedures,  etc. 

You are not going to start off teaching scissor skills OR those cute math board games with all the tiny pieces to go with it! There will be PLENTY of time for those things later on! Right now, your focus is on introducing rules & procedures and then practice, practice, practice those rules & procedures! 


You can still have FUN while teaching these things! It makes me think of Mary Poppins when she says "annnd SNAP, the job's a game!" Introduce how to use glue bottles with the picture book, Too Much Glue, and then it with an easy craft. Teaching clean up procedures for centers or snack? Sing a clean up song.. sing it every day.. three times a day if you have to! Children learn best through repetition taught in engaging ways! 

Here are some rules & procedures you will want to teach in your first two weeks of pre-k:

  • Morning arrival - Where do they hang their backpack? What do they do next?
  • Circle time - Where do they sit?  What does good carpet behavior look like? 
  • Center time - Do they stay in the same center or is it free choice? How do they clean up? What happens when they misbehave? What is not okay?
  • School supplies - How to they share? How to use them? Where do the supplies go? 
  • School tour - Where is our room? Where is the principal's office? Where is the library?
  • Lunch - How long do they sit? What if they have to go to the bathroom? How do they clean up?
  • Fire drills - What will happen? Where do we go? 
  • Line up procedures - How to not run to the line. How to keep hands to themselves. How to walk quietly.

The list goes on and on... but you don't have to do it one day or all in one week! I wouldn't introduce ALL the school supplies in one circle time either.  One morning, show a glue stick, model how to take the cap off and on, pass around the glue stick, have students practice an easy glueing task.  Pretend you are a 4 year old and you have never seen a glue stick in your life. How would you teach that procedure? 

Here's a handy list of must-reads for the first week of pre-K! 


Another day, read the tale of friendship, The Crayon Box that Talked." Talk about what makes us unique, introduce crayons and sharing, model coloring, and let students color a 1st Day of Pre-K journal page or coloring page. Introduce a little each day for two weeks and you will have confident little pre-k kiddos ready for more in depth learning! 

Here are a few resources to help you out! 


Below, is a sample schedule and of course you would adjust it to however your own school schedule allows: 

8:00 - 8:30 am: Arrival and Greeting 

8:30 - 9:00 am: Circle Time & Bathroom Breaks

9:00 - 9:30 am: Name Recognition Activity

9:30 - 10:00 am: Snack

10:00 - 10:30 am: Morning Recess

10:30 - 11:00 am: Learning Centers & Art

11:00 - 12:00 pm: Lunch & Cleanup

12:00 - 12:30 pm: Story & Bathroom Breaks

12:30 - 1:00 pm - Afternoon Recess

1:00 - 2:00 pm - Naptime

2:00 - 2:30 pm - Snack & Dismissal 


Helpful Tips:

Morning arrival - This is usually when parents drop off and sign in. Or sometimes you might be in a setting where you have to go pick up your students from cars, daycares, etc.  Smile & greet each kiddo! When entering the room, instruct them how to hang up their own backpack in their cubby and where to go next.  In the past, I always had students get their own daily folders out and put them in a tub. Set out a couple of baskets of manipulatives and a basket of books on different tables. I would not have learning centers open or exposed. 

Circle time - Begin with a few warm up music & movement songs. This gets the wiggles out! Read a picture book such as "The Kissing Hand" and pass around a racoon to hug. It might seem silly, but this is actually teaching children how to sit for a period of time, how to follow directions, and how to pass an item to another! You can also read books about characters following the rules & books that have an "All About Me" theme.  

Bathroom procedures - During circle time, is a good time to tell each child to go to the bathroom. (Hopefullly you have the luxury of having a bathroom in your room, if not.. make sure you schedule lots of potty breaks throughout the day!) You will have to teach how to use the soap, how much soap, how many paper towels, what to do with the paper towels, etc. 

Name games - We don't need to teach letter formation or how to grip a pencil just yet! Not in the first few days. Right now we are focusing on learning each other's names and identifying our own names. A fun name game is that old familiar favorite... Who Stole the Cookies from the Cookie Jar?! Put each child's photo and name on a construction paper cookie and put all the cookies in a cookie jar or basket. Repeat the rhyme and pull out a cookie at the end of the rhyme. You can do a few names each day! Or create a classroom book with a child's photo on each page. Flip through and read it together! 

Recess - Remember, some of those kiddos have never slid down a slide or swung the monkey bars. Walk around the playground in line, point out the equipment, model the equipment, and then let them play. They WILL make mistakes & forget the rules. It's your job to keep a watchful eye & give reminders. 

Learning centers - Have two or three centers open each day. Model the centers and go over what's in each center and how to use it. Practice with blocks and pretend the first few days. You can have other centers empty or I always faced the cabinets toward the walls. You can do free choice or assign centers, that's up to you. Allow extra clean up time at the beginning of the year. Centers is usually when I pulled kids to the art table in groups of four to do an easy activity. Your pre-k aide can do art time or they can watch over play in the centers. 


The laughter and discoveries about to be had will be the building blocks for the wonderful journey ahead! Remember to keep your schedule flexible and make room for modifications. Laugh, smile, dance, and enjoy this time and they will to! 


Thursday, July 27, 2023

How to survive your first Meet the Teacher night - with confidence!


I remember my very first pre-k "meet the teacher night"  ...my palms were sweaty and I was anxiously counting down the seconds on the clock till my new little students and their parents would enter through my classroom door. I had on a new cute outfit and was proudly wearing my first teacher badge. I felt like a looked the part on the outside, but I didn't feel confident on the inside! Me, talking in front of four year olds... no problem! Me, talking in front of parents.. that's another story!  With practice and little organization, added each time Meet the Teacher came around, the years got easier!  

As a new teacher, "Meet the Teacher" night can be both exciting AND nerve-wracking, let me tell ya!  To calm those jitters and make the day a successful experience, FOCUS ON PREP and STAY POSITIVE! : )  Remember, parents (and kids!) are just as eager to meet you and learn about your teaching style as you are to meet them! 


First things first, SETUP - organize and clean the room, set up welcoming displays, and having all necessary materials printed and ready. 

DON'T have all your manipulatives & learning centers fully stocked! I repeat.. DO NOT have all those bright and shiny centers bursting with the fun games you worked so hard on over the summer! Let me tell you why... You will spend 2 hours after those kiddos leave cleaning and reorganizing all of those centers! Those students have learned how to play with those items and where they go. Have the open cabinets empty or face them toward the wall.  You don't want the pretend center exploded with play food and costumes either as the next family walks in. It is also a good idea for families not to linger tooo long! 


DO, however, have a few baskets of manipulatives on tables. One or two baskets filled with manipulative toys like linking cubes are easy to clean up.  A table with crayons with coloring pages are easy and kids can take home their pictures. Also, a basket of picture books are a quiet activity and familiar to young children. 

Don't be afraid that your classroom will look bland and boring without the centers fully stocked. You can still express new school year excitement with the decorated bulletin boards, cubby labels, posters, and what not on the walls! 


You can also set out labeled baskets or tubs for students to sort their school supplies in. This makes putting away the supplies easy and already organized! I've made some helpful labels that you can use HERE! 


Secondly, PREPARE THE PRINTABLES  - plan what you want info you want to say to parents and be genuine in your approach.  Do you want to have handouts, a slideshow going, or both? 

Meet the Teacher events can vary from school to school. At a few of my schools it was very formal and the families sat down and listened all together as I talked. It was about a 30 minute long meeting. At my other schools, it was very informal. Students basically showed up for five minutes to greet me and see their new room. 

In either situation, I would say having printables ready to go is key! 


Must-have items you will want to have printed and ready to give to parents: 

- Welcome note
- Class schedule
- Your contact info
- Have them fill out important info cards 

It's also fun to include a "teacher favorites list." Parents love to know what special things you enjoy and often surprise you during the year or with holiday gifts! 


Creating a power point slideshow is is an easy aide to guide you and remind you of what to say! If you are doing a slideshow, focus on these things:

- Your first slide can be about your background and teaching style. 
- Then, talk about your class schedule and what the pre-k day will look like.
- Explain your daily folder system if you have one.
- Give info about snacks, nap time, and/or field trips.
- Note important events or dress up days coming up.
- Provide ways parents can volunteer. 
- Open up Q & A at the end for parents to ask questions or concerns. 
- Thank parents for coming & say how excited you will be to start teaching their children soon!


Other printables to have ready: 

- Welcome poster  (Post this on the door or near the door. This can instruct parents what to do when they enter.. you can say something like "Please sign in, sort school supplies, take a photo in the photo booth, find your child's packet and fill it out, etc.")

- Sign in sheet (then you can easily see who you met & gave info to) 

- Volunteer sign up sheet

- Snack sign up sheet

- Transportation sheet (How will your kiddos get home? Car, bus, daycare?)

I place all the sign up/sign in sheets, in a line, on one table. That way parents don't miss a form. I also put student packets, labeled, and in one tub on the same table. And don't forget the pens! 

If this feels overwhelming to you or you need to get this done quickly... I've got you covered! My meet the teacher printables are easily editable and come with step-by-step guide posters for parents to follow. Click on each photo to see more of what's included! 


Next, PRACTICE - Practice how you want parents to flow into the classroom. Do you have flow? Will parents and kids know what to do?  Where will you stand? Do you have a teacher aide? What will they do? 


Practice your greeting... 

As a new family enters you can say something like "Hi, I'm ________! It's so nice to meet you. (Shake hands and even the hands of the kids.. or give students a hug!) Let me show you where your cubby is...OR... Sallie, you can go check out those baskets of toys while mom fills out your papers! Don't forget to take a photo in the photo booth before you leave!"

And if you are doing a slideshow presentation, run through it a couple times! Often you will find you need to add some things! 


Then, LEAVE STUDENTS (& PARENTS) WITH A SMILE - You can have a small treat bags in students' cubby, gift them with a coloring page to take home, or offer a fun photo booth for them to take pictures in! 


Last, TREAT YO' SELF! Grab one of those big Sonic drinks & a bag of snacks to get yourself thought the event!  And reward yourself after! Remind yourself that it's okay to feel nervous; it shows that you care about making a great connection with your students and their families! 


You WILL survive, I promise! You will feel CONFIDENT knowing that you are well prepped and ready! Taking a few deep breaths before you start the event and focus your excitement on the upcoming school year! It will help ease those nerves and make the day a memorable and enjoyable experience for EVERYONE involved! 

Monday, July 24, 2023

Cure the Chaos with a Calm Down Space!


Picture this... little Ethan's excitement is off the charts, and little Caroline’s frustration level is creeping up. You are in the middle of morning drop off, pen in hand, checking students in.  You have successfully peeled crying Ethan off his mother (yay!) but now he won’t un-attach from your leg!  Your non-writing hand now has the job of holding Caroline’s tiny little fingers. She’s in a grumpy-I-woke-up-too-early attitude and you’re keeping her from wreaking havoc in the block center. You have one hand and one leg left. You are instantly “teacher hangman” and if you don’t figure out something soon, you’re going to come home looking like Stretch Armstrong!


Sometimes, even the most well-behaved students need a breather from all the classroom excitement!
 Having a “calm down area” in place is a game-changer! Providing a dedicated space for children to self regulate and manage emotions is ESSENTIAL in the early childhood classroom! The calm down area is like a thrilling rollercoaster for emotions – it can be the one-stop-shop for the wildest emotional rides!


Here are 5 easy items you can start collecting to create a calm down space:  


1. A feeling of home – Soft carpet and plump pillows can re-create a familiar environment and provide comfort. Ask for donations of carpet squares from parents, search summer garage sales, or even a bathroom rug will do! You can even ask Home Depot if they have any carpet remnants they would like to donate to your classroom.. and often times they will!

2. A place to share secrets – Often times students will share their emotions.. not with you, but maybe with a stuffed animal or two! Incorporate a few huggable stuffed animals and maybe an enchanted seat! A cozy child sized chair (renamed the Unicorn Whispering Chair.. or whatever you want!) will encourage students to express emotions. This enchanted seat has the power to hear feelings, from happy giggles to "oopsie-daisy" mishaps. Kids whisper their emotions, and guess what? The unicorns keep secrets safe while we find our happy place!

3. A Funny Faces Mirror - Have students step right up to the hilarious funny faces mirror! When emotions have students mixed-up, this mirror will turn those frowns upside down with its silly reflections.

4. Relaxing Reads – A basket of familiar picture books are attractive to children and also provide a quite calming down activity. You can incorporate family stories like “The Kissing Hand” or stories about sharing, caring, and being kind.

5. Soothing Sensory Bottles – Sometimes students need a few minutes just to refocus and breath. Sensory bottles are mesmerizing! I like to use empty water bottles and fill them with glitter, tiny plastic toys, food coloring, water, and baby oil. I hot glue the lid tightly on. Michaels craft store has inexpensive bottles to purchase and fill HERE.


During the first week of school it’s important to teach students:

- where the space is

-when to use the space

-how to use the space

-how to take care of items in the space


A well-thought out calming down center is a POWERFUL TOOL in the pre-K classroom!  By fostering emotional awareness, teaching self-regulation, and promoting positive behavior, this nurturing space equips children with essential life skills that will serve them WELL BEYOND their early years!  Emotions may come and go, but now you know how to start building a space to embrace every feeling!


Thursday, July 20, 2023

How to have a potty accident system in place!

Oops! 🤷🏻‍♀️ Accidents DO happen and can happen quite a lot! Have you ever had a student with an unexpected potty accident, and you find yourself frantically rummaging through the extra clothes bin HOPING & PRAYING 🙏 for a for a pair of underwear that fit? How about TWO students, one got sick and now you gotta find a clean shirt (and fast!) and the other spilled their lunch on all over their pants… AND it’s PICTURE DAY! 😱📸 Okay.. maybe it wasn’t not that chaotic of a day or maybe it was worse! Been there! Many times! Trust me!

Worry no more, because I’ve got the perfect solution for you! 🎉 These printables are a LIFESAVER! The labels make it super simple to keep track of each child’s extra clothes, so you can QUICKLY grab what’s needed and get back to having FUN in no time! 🙌 Send home the included note with labeled bags for parents to fill & return! EASY!


No more mix-ups, no more added stress –you will have an organized SYSTEM, 🙌for these sticky situations, READY TO GO for the new year! 👏👏👏 🎉🎉🎉

⭐️Tips on using these labels & notes:

✨Have plastic bags labeled and ready to hand to parents on meet the teacher night and put the “change of clothes note” INSIDE the bag!

✨Print labels on brightly colored paper so the bags don’t get lost.
Print on Astrobrights neon sticker paper.. it’s perfect to use with these labels!

✨Avoid running to the copy machine, pre-print a stack of the “Oops! Bring back these clothes note” so you have them on hand.

📚🦸‍♀️Teachers are already loving these change of clothes labels & notes! Here’s what they have to say:

“I cannot thank myself enough for using these this year! I printed them over the summer so they were ready to use once school began and I was able to quickly and effectively communicate with parents when students had accidents.” – Ann B.

“I cannot rave enough about this perfect change of clothes bundle! This helped me to be prepared and ready for when all of those accidents begin!” – Jennifer K.

“I use this in my kindergarten room and am extremely happy with this resource. I include the note about sending a change of clothes in their packets they get at orientation and then keep the other notes on hand for if accidents happen or the students need different clothes sent. It also saves time on writing a full note home to the parents about what clothes need to be changed and is quick to fill out and slip into their agenda without the other students catching on to what happened.” – Danielle G.

Click HERE to save yourself STRESS & have a HASSLE-FREE year! 


Friday, September 2, 2016

Organization & Tin Can DIY


Hello friends! Today I thought I'd share with you a few tips on how to "organize in style" in the classroom! I've also put together a fun tin can DIY for you at the end of this post! 


Are you a new teacher overwhelmed with lack of storage and space in the classroom? Are you a returning teacher and needing some stylish storage advice to update your room? Perhaps you are headed back to school this week and are looking for a few quick organization ideas to start the new school year off. 


When you start planning classroom organization you think of cute labeled bins, matching colorful containers, and a place for everything/everything in it's place, right? Classroom decor, storage, and organization ideas have come along way! There are so many kinds of boxes, bins, containers and even items you can create to store your classroom supplies!


When setting up your classroom you will have to think about literacy, math, & science manipulative storage, arts & crafts storage, curriculum storage, etc. You will have to keep in mind ease of access for students to grab materials. You will also have to think about long-term storage. What will you do with items that are not used everyday? 

My very first new teacher purchase was to help me organize my new classroom... bright plastic bins from the dollar store! They were inexpensive, useful to hold art supplies/manipulatives, and fit just right into my classroom storage cabinets. 


I created labels, laminated the labels, and attached with Velcro. Velcro is SO useful in the classroom and I love it so much for labels. I often switch labels around and move things around to different size containers and Velcro makes things non-permanent! These bins have lasted me quite a few years!


If you are searching for some cute and EDITABLE labels you might want to check these Pre-K Tweets Chalkboard Labels out. They are new for fall and oh-so-cute! 


Another idea I like to use for storage is plastic shoe boxes. They are transparent and stackable!


I purchase my shoe boxes from The Container Store. I love them because they have clear lids and are inexpensive. I also like that when I need more I can just order them online AND I know they will have the exact size I need. I don't have to go hunting back to a store looking for the matching boxes with a turquoise lid or the same exact size.


I have used these storage boxes in my art supply cabinet in my classroom and also for craft supply storage at home. 


For a stylish and matching look, attach chalk board stickers (can be purchased from a craft store) and label with a white paint pen!

My go-to staples for classroom organization are: baskets, bins, crates, and mason jars!


I search home decor aisles, discount stores, Save-on-Crafts.com, and garage sales for these kinds of containers!


Mason jars are great for your writing or art center storage! You can paint them (or leave them plain) and students can practice matching like colors into the jars. 

Sometimes you have to think out-side-the-box about classroom storage for supplies! I've often had to get creative and think of other uses for things. 


I purchased this silverware caddy on clearance and I've used it in the classroom for my desk supplies and also during art projects!


I love things that serve double-duty and that I can borrow for other uses!


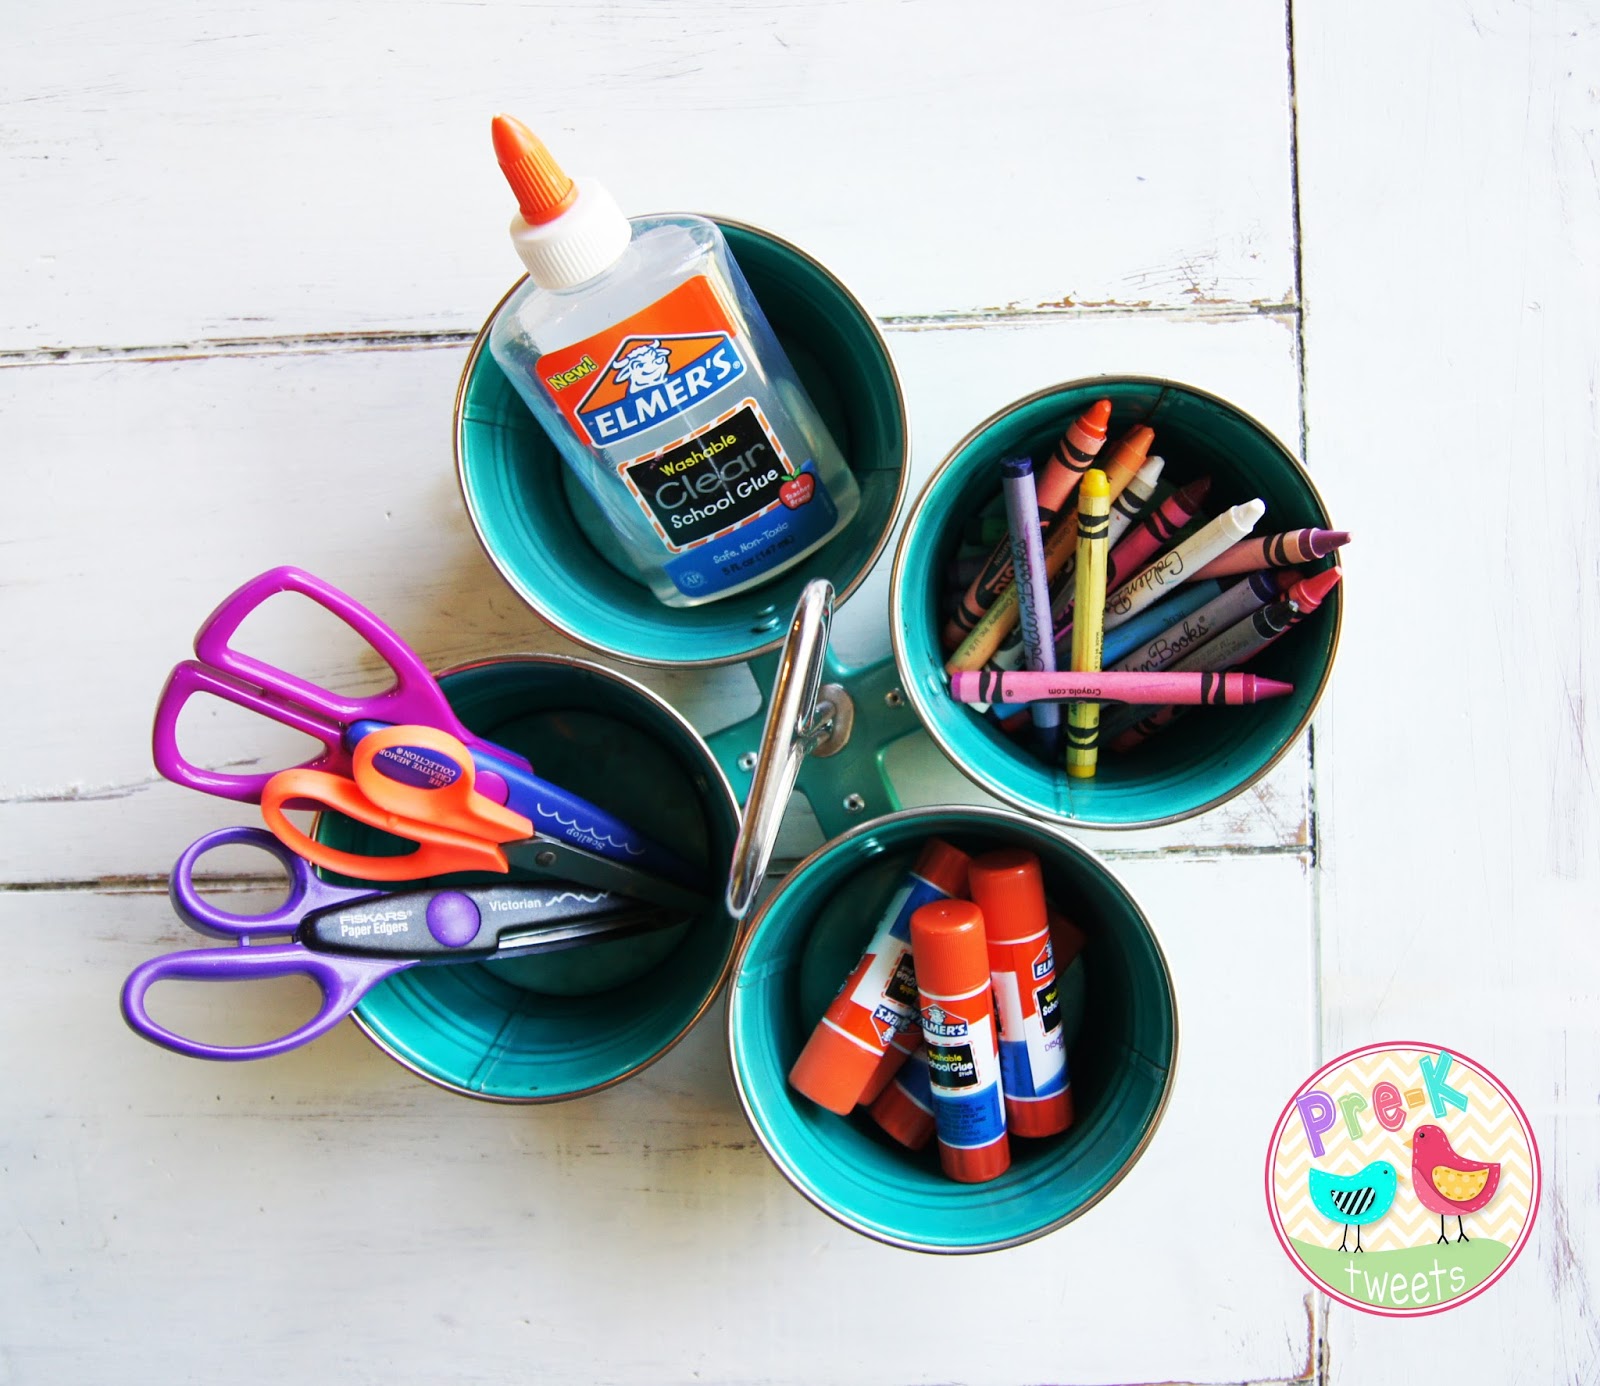
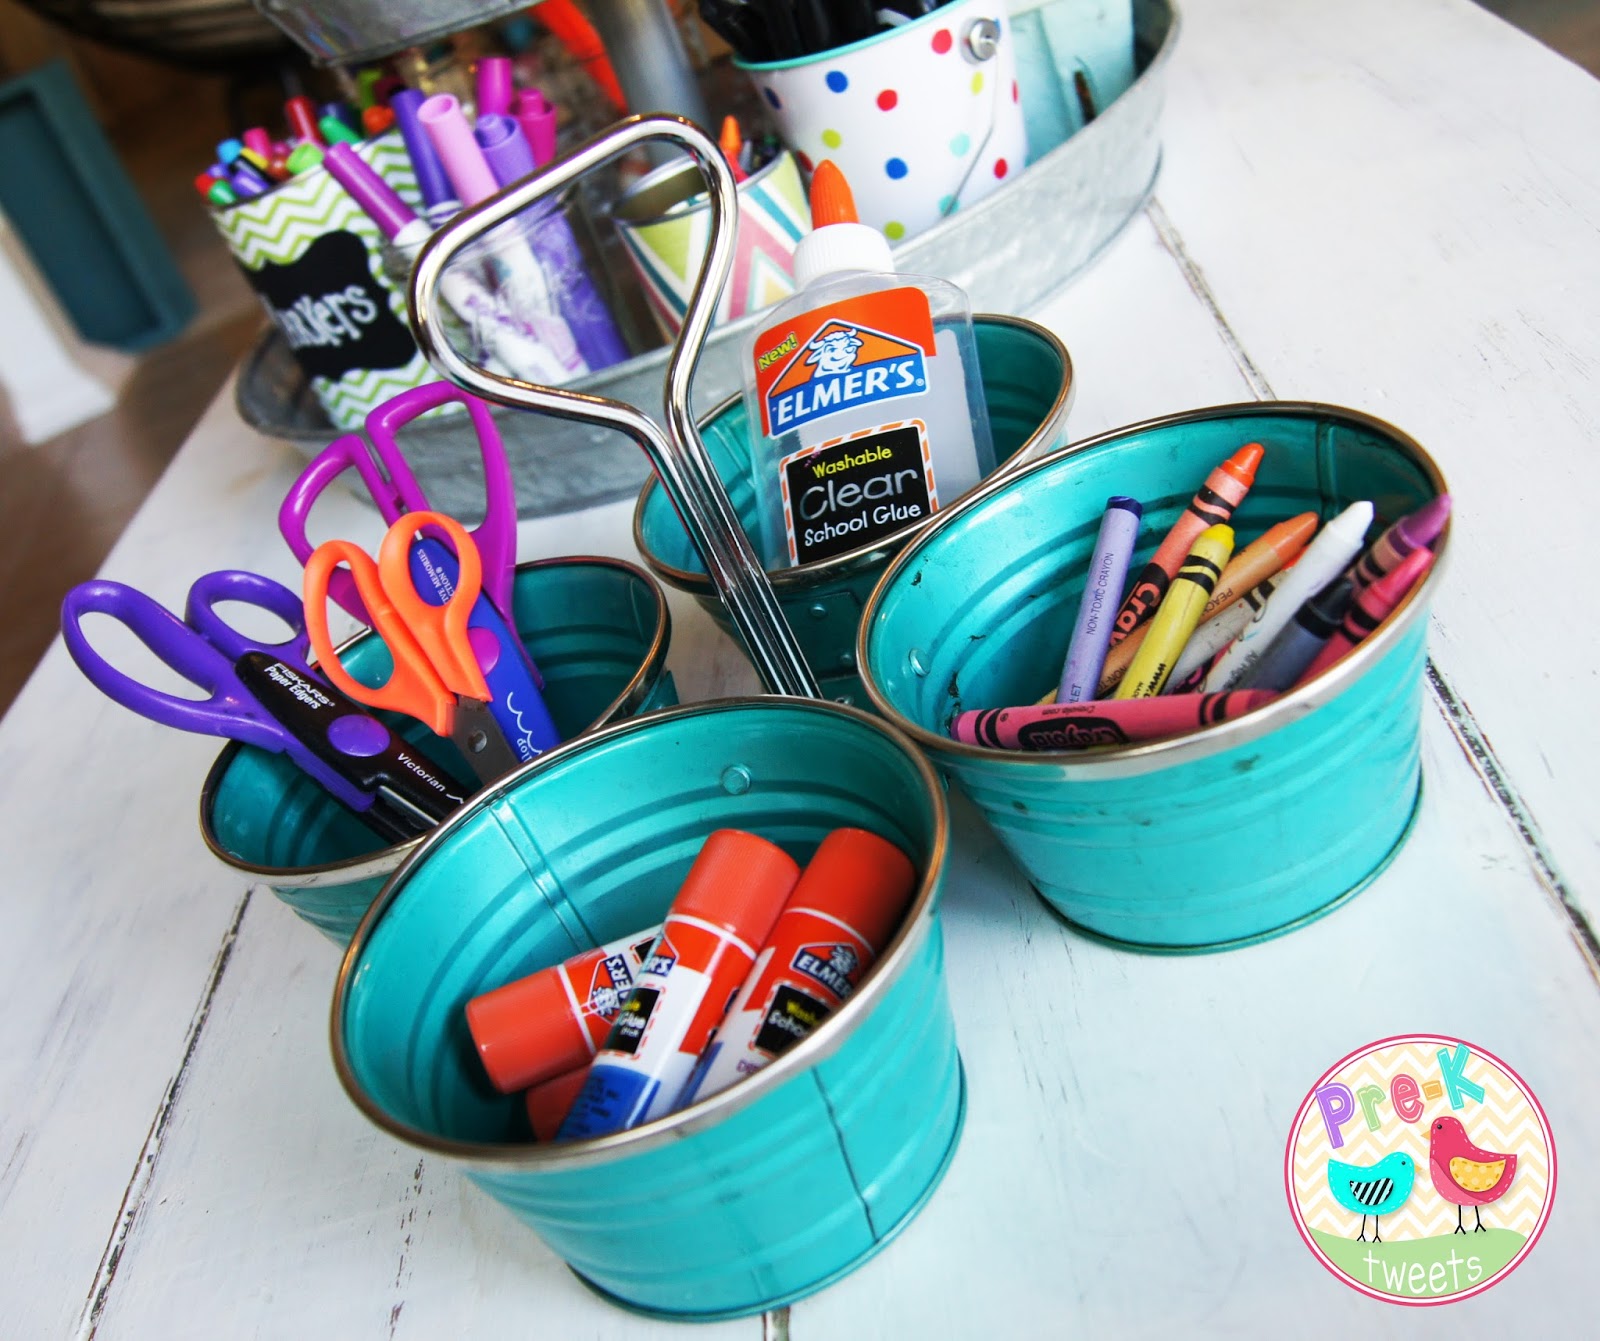
For crayon tubs, I found the perfect containers (with handles) in the hardware store...of all places! Students can easily grab them for activities and take them to group tables. 

I've had classrooms where I did not have enough shelves or bookcases. I needed additional large storage for learning centers...


Stacked crates make great mini book shelves or book cases. As you can see in the photo, they are the perfect height for pre-k. I easily zip-tied the crates together so they were attached non-permanently in case I needed to use them for something else. 

I've also brought in additional storage shelves. 


These cube shelves are easy to put together and hold tons in the art center! 


Themed items are organized by season and into large plastic tubs. I created laminated labels from scrapbook paper and Velcro-ed to the tubs. I've stored items not currently in use in classroom closet and in my garage. But let's face it, even with a classroom closet (which a lot of classrooms don't have), there is just never enough room! I've collected a ton of games, toys, manipulatives over the years and I can honestly say I've used it all..every year!  I've stored many of these organized tubs in my garage and just pull them out when the theme/season changes!


And now...for the Pre-K Tweets organizational DIY: Tin Can Containers! 


Tin Can Containers DIY... Tin cans come in many sizes and can be so useful in the classroom! They can hold writing utensils, art supplies, and even Box Tops! Learn how to craft stylish tin can containers for your classroom...


Select paper that matches the theme or color scheme of your classroom. I chose this colorful chevron scrapbook paper by The Paper Studio from Hobby Lobby. 


Remove the labels from the clean empty cans. Be sure there are no sharp edges left over from your can opener! If there are, you can cover them with colorful duct tape.


I use the string/yarn to wrap around the can to measure what length size for the paper. Then I hold the string up against the paper to figure out the length. You might not have enough length paper for large cans and will have to use 2 pieces. 


Measure the height of the can, too. You want the paper to fit just inside the top and bottom rings/ridges. Cut the strip of paper and measure it against the can just to be sure before you start taping/gluing. 


I used double stick tape to attach the paper strip to the can. Hot glue or a glue stick will work as well. I find the tape is easy to use and really holds the paper on! I found it easier to put the tape on the outside of the can first and then wrap the paper on top. (Instead of putting the tape on the paper first.)


Then, label and dress up your covered tin cans! Chalkboard stickers work well. You can also use chalkboard tape or construction paper. Use a paint pen or chalk maker to write. I like to spray or paint a clear coat of acrylic sealant to the label so the wording doesn't rub off. You can also run the label through a laminator.  


You can also add fun clothespins or ribbon to dress up the tin cans! So fun..and inexpensive! 


Here's a few cans I made for my classroom last year. Students loved getting to insert their box tops in the (empty coffee) can! The other can is covered in a burlap ribbon. 


I hope you love this Tin Can Containers DIY as much as I loved making it. Let me know in the comments section if you would enjoy more Pre-K Tweet's DIY's and also feel free to share YOUR classroom organizational ideas! Happy teaching!!!